A retail checkout counter is a working system, not just a place to put a POS terminal. The position of the scanner, receipt printer, cash drawer, customer display, payment terminal and bagging area affects transaction speed, operator comfort, cable reliability and the customer's experience.
This guide explains how supermarkets, convenience stores and retail project teams can plan a practical checkout counter layout before ordering equipment or building counters. It complements our supermarket equipment buying guide by focusing on physical workflow and installation.
Define where the basket or cart arrives, where items wait before scanning, where payment happens and where scanned products are packed. A clear one-way flow reduces repeated lifting and prevents scanned and unscanned items from mixing.
For a staffed lane, a common sequence is:
The counter should support this sequence without forcing the cashier to twist, cross arms or move products backward.
Frequently used equipment belongs inside the cashier's comfortable reach. Devices used occasionally can sit farther away if they remain visible and serviceable. Test the layout with users of different heights and with the actual chair or standing position.
Keep the primary scanner, payment terminal, receipt pickup and keyboard or touch screen close to the neutral working position. Avoid placing heavy products where the operator must lift them across the POS display. A handheld scanner or auxiliary scan position can help with bulky items that remain in the cart.
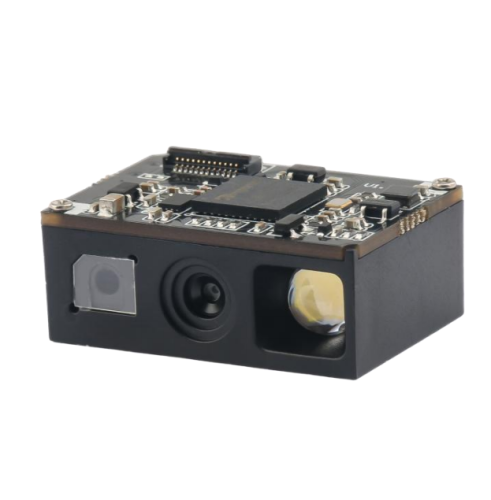
The scanner often defines the center of the checkout workflow. A desktop presentation scanner should allow products to move naturally through its read zone without precise aiming. Its window should be protected from impacts but remain easy to clean.
Consider:
Test the scanner with real packaging, including glossy film, curved labels, damaged barcodes and phone screens.
The cashier should be able to view the transaction without bending the neck or rotating repeatedly. Screen height, distance and tilt should match the operating position and software interface. If the display is touch enabled, it must also remain within easy reach.
Keep the screen outside the main path of products and bags. A monitor arm can free counter space and improve adjustment, but it needs a stable mounting point and protected cable routing. For additional selection details, see our touch monitor buying guide.
The printer needs quick paper access, a clear receipt exit and enough room for the cover to open. Do not bury it under a shelf that prevents roll replacement. Keep the receipt path away from drinks, produce moisture and loose packaging.
Many cash drawers connect through the receipt printer. Place the drawer so it can open fully without striking the cashier, customer, cart or nearby cabinet. Confirm tray orientation, key access and cable length. The drawer must be supported by the counter and should not move when opened or closed.
Review the exact interface, voltage and software command instead of relying on connector shape. Our POS terminal ports guide provides a practical compatibility matrix.
A customer display should face the shopper without blocking payment, bagging or staff sightlines. Check viewing distance, character size, glare and whether the display can be rotated accidentally.
A two-line pole display is suitable for prices and totals, while an LCD customer screen can show product details, promotions or payment guidance. The layout must match the software output; a large display has little value if the application sends only a short total.
Place the payment terminal where the customer can reach it comfortably without leaning across the scanner or cashier workspace. Allow enough cable movement for chip insertion, contactless tapping and accessibility needs, but prevent the cable from entering the product path.
The cashier should be able to see the terminal status and help the customer without exposing private information on the main POS screen. If the terminal is mounted, test common card, phone and wheelchair approach angles.
If products are weighed at checkout, the scale platter must sit level and remain free from contact with the counter edges, cables or adjacent equipment. Any physical contact can affect stable weight.
The cashier should be able to place produce on the scale without lifting it over other devices. Confirm that the scale display, POS software and product lookup workflow are visible and synchronized. Local legal-for-trade and metrology requirements may apply, so involve the destination market's authority or certification partner early.
The bagging area must hold the expected basket size without allowing scanned products to return to the unscanned side. For high-volume lanes, consider two bagging positions so one order can be packed while the next transaction begins.
Keep sharp edges, cables and receipt waste away from food and bags. If reusable bags are common, include room to open and support them. The design should work for both staff-assisted and customer bagging.
Cable management is a reliability feature. Loose cables can be pulled, pinched by drawers, damaged during cleaning or reconnected to the wrong port.
Create a connection diagram for each lane and keep it with the approved hardware configuration.
Count every device that requires mains power, USB, serial, Ethernet or video. Include optional equipment such as a scale, handheld scanner, customer display, card reader and service keyboard. Reserve capacity for future peripherals instead of using every port on day one.
Test the full lane during cold start, restart and peak activity. Several devices may share an internal USB controller or power circuit even when the terminal has many physical ports.
Store equipment needs regular cleaning, paper replacement and occasional cable service. Staff should be able to reach the scanner window, printer, customer display and counter surface without dismantling the lane.
Keep ventilation openings clear and avoid shelves that trap heat around the POS terminal or power adapters. In food-related areas, choose cleanable surfaces and protect electronics from moisture, grease and produce debris.
The layout should let the cashier see the customer, basket and bagging area. High displays, promotional signs or equipment stacks can create blind spots. Secure devices that customers can reach, and route cables so they cannot be unplugged easily.
Cash security depends on both the drawer and operating process. Define key control, no-sale permissions, shift changes and cash transfer. The counter should support these procedures without exposing the drawer contents to the sales floor.
Build one complete lane using the final counter, equipment, cables and software. Ask several normal operators to process baskets containing small items, large packages, produce, reflective labels and mobile coupons. Include cash, card, returns, paper replacement and power-recovery scenarios.
Measure transaction time, repeated reaching, scan retries, cable movement, receipt handling and bagging congestion. Record every change before approving the counter drawing and production bill of materials.
It can when the drawer is designed to support the load and the printer cover can open fully. Confirm ventilation, cable routing and service access.
A desktop presentation scanner is efficient for repeated hands-free scanning. A handheld model is useful for bulky items or flexible counters. Many high-volume lanes use both.
After connecting every planned peripheral, keep at least one accessible port for service or approved expansion. Also check plug clearance and the total USB power budget.
Place it within the shopper's natural sightline without blocking payment, bagging or staff visibility. Test glare and readability from realistic standing and wheelchair positions.
Before counters and equipment are ordered in volume. A physical pilot reveals reach, clearance, cable and workflow problems that drawings often miss.
A successful checkout counter combines equipment selection, ergonomics, cable management, service access and software workflow. Treat the lane as one system and approve a production-like pilot before rollout.
Contact WODEMAX with your store format, counter drawing, peripheral list, software environment and quantity. Our team can help review the complete retail equipment configuration for your project.
 Direct Thermal vs Thermal Transfer Printing: Which Should You Choose?
 Android POS vs Windows POS Terminals: Which Platform Fits Your Retail System?
 POS Terminal Ports Explained: USB, COM, LAN, HDMI and Cash Drawer
 How to Choose a Touch Monitor for POS and Self-Service Kiosks